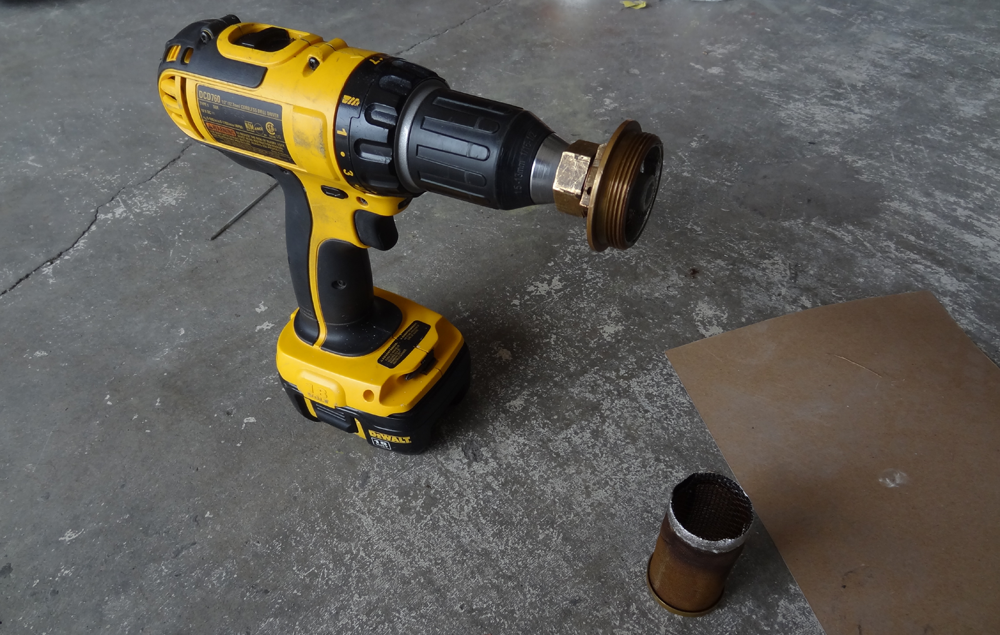
This is super simple. The screen is soldered to the threaded cap. Once you've removed it from the engine, simply heat up the solder with a blowtorch and work it free. I found this easiest done by holding it inverted in a drill, then slowly spinning it as the torch was heating it up. Eventually gravi...
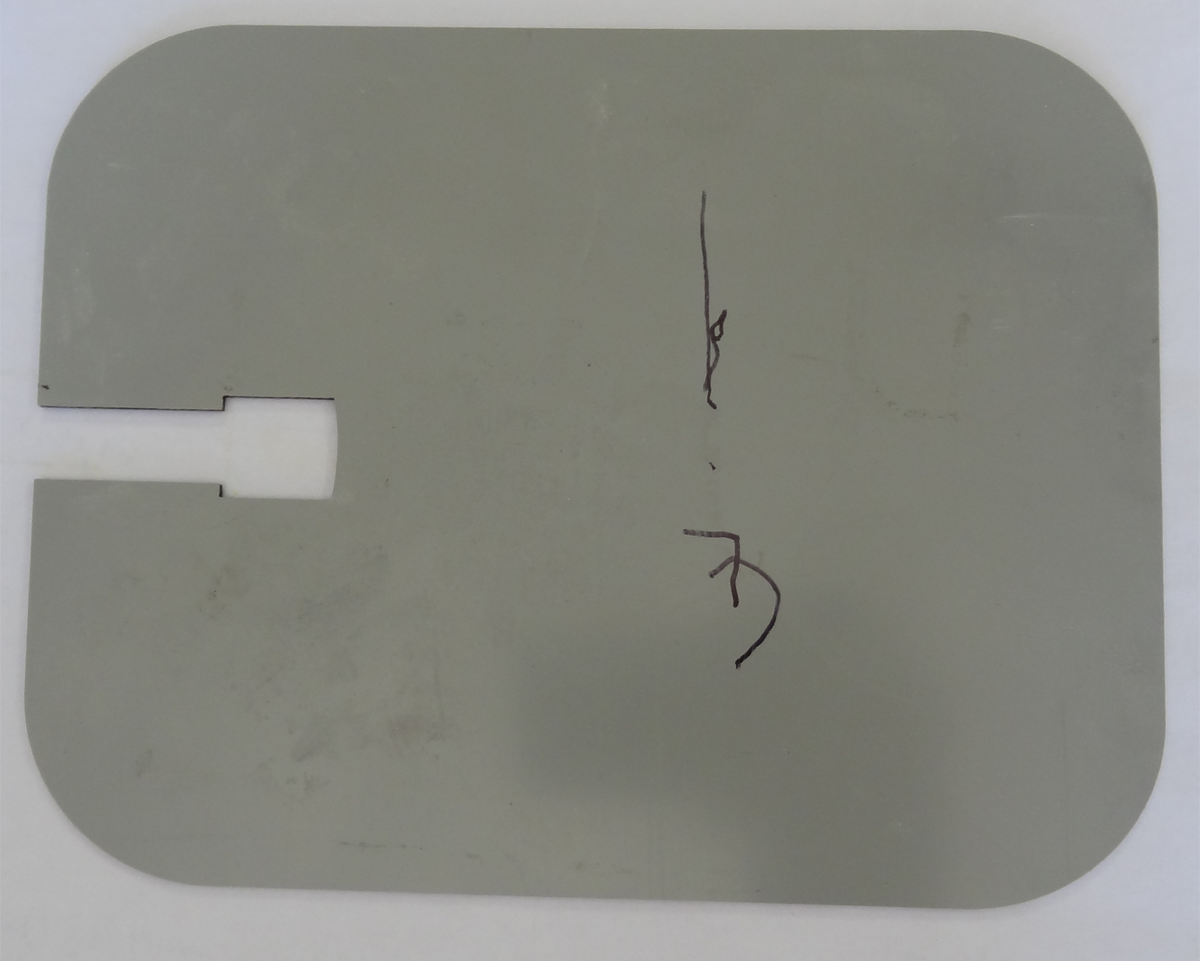
I designed the oil access door in SolidWorks. Using the large, flat piece of material that was cut out of the bottom of the cowl, I asked my buddy at work to lasercut the part out for me. It turned out really nice. This access opening will be 1inch wider and 1inch taller than the opening in the prev...
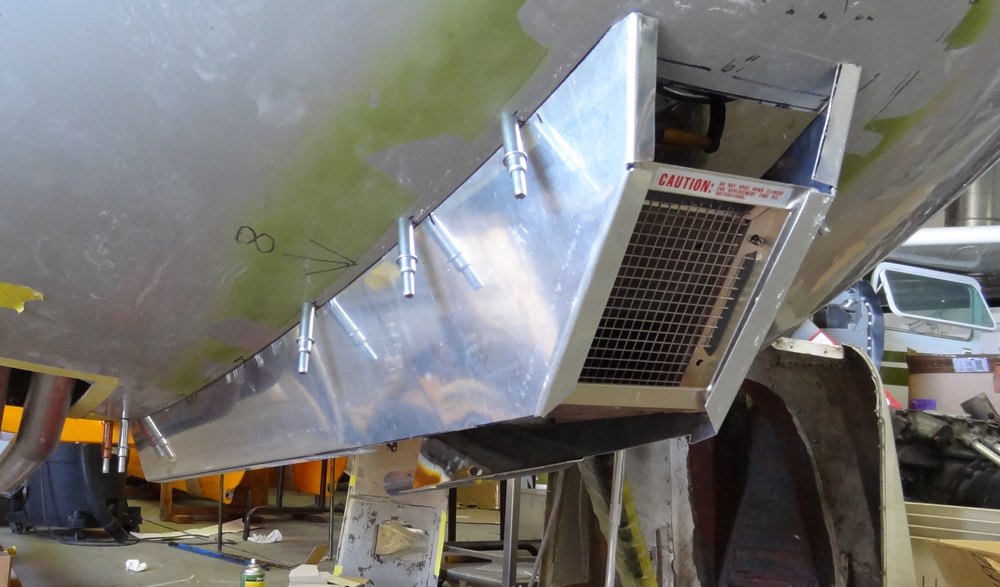
The cowl is mounted, but it's a long way from finished. The next task is to work on the air intake section of the lower cowl. The previous cowl had a snorkeltype system which required fiberglassing skills that I don't have. Furthermore, by installing a C150 air filter I'm gonna have to build the low...
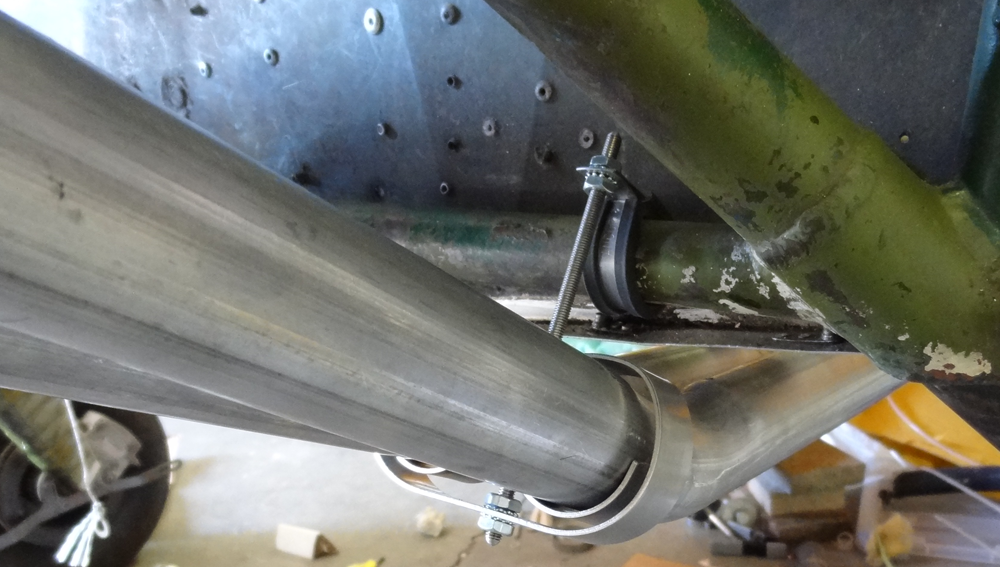
The new exhaust system consists of four individual pipes, each between 2832" long which means they definitely need support at both ends. Using some 1/8" allthread and some 16gauge (1/16") chromoly scrap from work, I fashioned up some hangers that provide some spring/shockabsorption to the exit end o...

The Quark theme has the ability to allow pages to override some of the default options by letting the user set bodyclasses for any page. The theme will merge the combination of the defaults with any bodyclasses set. This allows you to easily add hero classes to give your blog post some bling. === Bo...
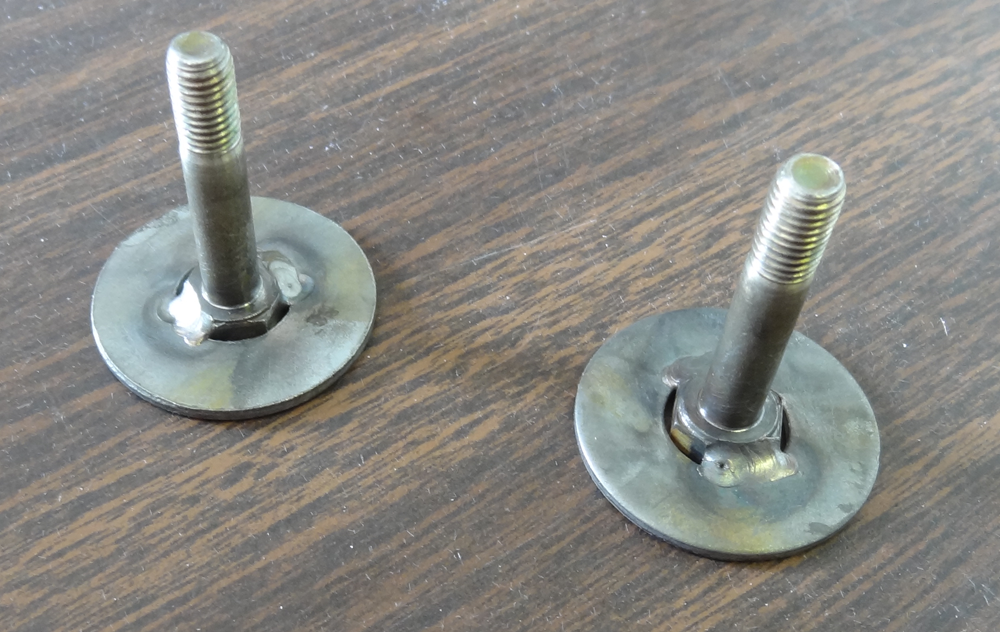
I intend to reuse the four existing cowl mount points on the fuselage. I started by making the new mounting hardware: a 1.25" 1/428 bolt welded to a 1" washer. === After marking the cowl where the fuselage mount points are located, they were fiberglassed into place. The red arrows show where these a...